
| |
|---|---|
| Osiris: New Dawn | |
Time covered: |
First hour of gameplay |
Related articles: |
|
| Osiris: New Dawn Is the Space Survival Game You've Been Waiting For | |
Related video: |
|

I'm just pining for the fjords Earth!
Survival on alien worlds is not an easy thing. Fortunately, if you stick to this guide, your chances of dying should be reduced from Yeah, You're Gonna Kick the Bucket Mate to I Can't Believe You're Not Dead Yet!
The Basics
- All the standard movement keys are based on WSAD, like in pretty much every game out in the market. One crucial difference is the feel of the character and their movement: The game simulates the bulk of the space suit by introducing a slight lag an inertia to movement. Take a moment to familiarize yourself with it. See also: Controls
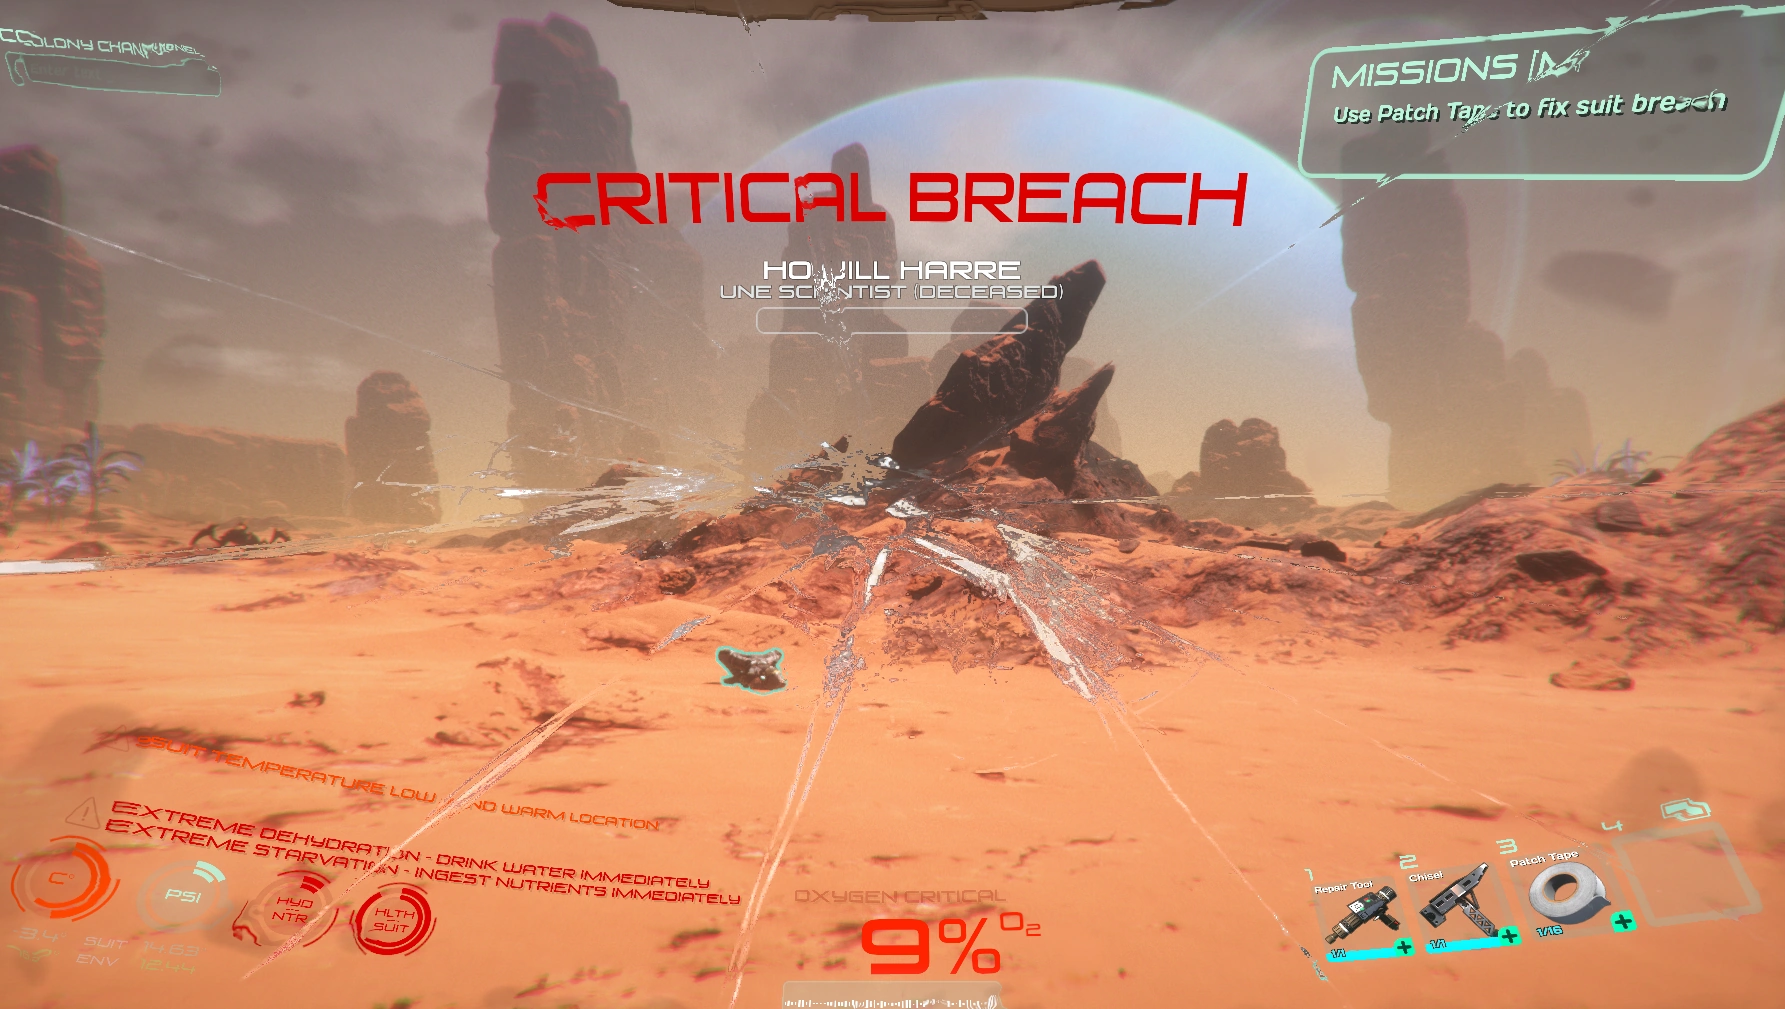
- Your first task will be to hit 3 and use the patch tape to fix up your suit, which was beaten up in the landing.
- That will fix the problems with temperature and pressure. These are the two leftmost indicators on your HUD. With a damaged suit, the interior of the suit starts equalizing both with the exterior. It's generally unhealthy, as exposing your body to temperatures two hundred degrees below freezing and pressure that makes eyeballs pop is hardly a good thing
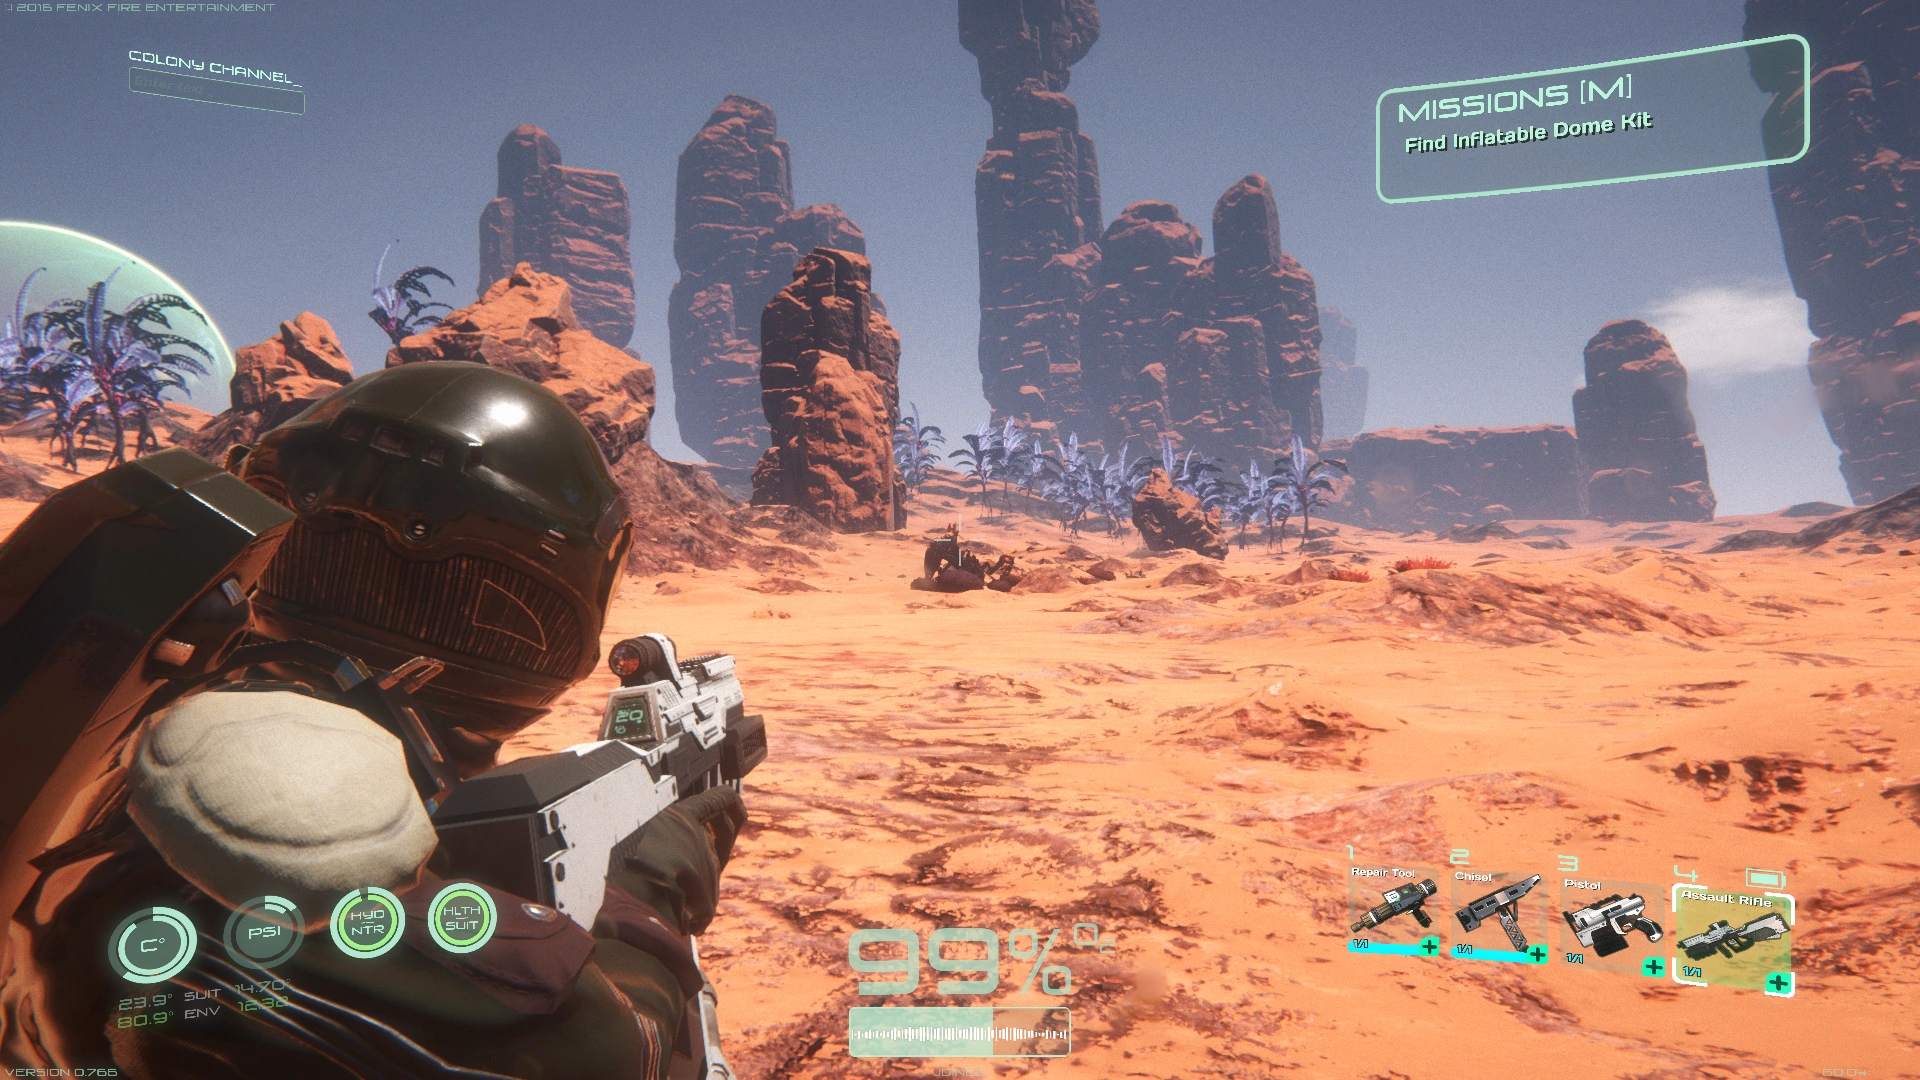
- Follow the mission indicator and find the survival kit (big white box), ammo box (small green box), and the inflatable dome kit. These provide the minimal amount of equipment needed to survive the first five minutes.
- Food and water found in the survival kit are used to maintain hydration and nutrition. Don't worry about them too much, unless the HYD and NUT indicators are low. The suit will provide a helpful hint (big, red letters above the HUD suggesting that you eg. eat your
veggiesrations right now) whenever any of your astronaut's needs require attention. - The pistol and Assault Rifle are used to kill or drive away wildlife and other astronauts. Early on, stick to the pistol as it has unlimited ammunition and a decent punch. Use the rifle in emergency situations.
- Make sure that you have the kit, otherwise you won't be able to construct a save point.
- It's worth noting that standard movement is woefully slow. Instead of walking everywhere, run (Shift), which depletes oxygen.
- Even more efficient is jump-jetting across the landscape. Use suit thrusters to propel yourself across dozens of meters at once. To do so, jump (Space) while pressing a direction key, then immediately hold and press the jump key again to activate the thrusters. This adds plenty of motion and speed.
- Food and water found in the survival kit are used to maintain hydration and nutrition. Don't worry about them too much, unless the HYD and NUT indicators are low. The suit will provide a helpful hint (big, red letters above the HUD suggesting that you eg. eat your
- Enter the inventory screen (Tab), open the Structures tab, select the inflatable dome and place it. This gives you a save point and a place to replenish oxygen. Enter the dome and use the bed.
- Subsequent kits can be manufactured in the fabricator and placed to create additional save points.
- Congratulations, you are not dead (yet)!
- Note that if you die before building the dome, you will simply be set back to the beginning of the whole exercise. A nifty way to reset progress if you wind up journeying into the realm of the Great Worm.
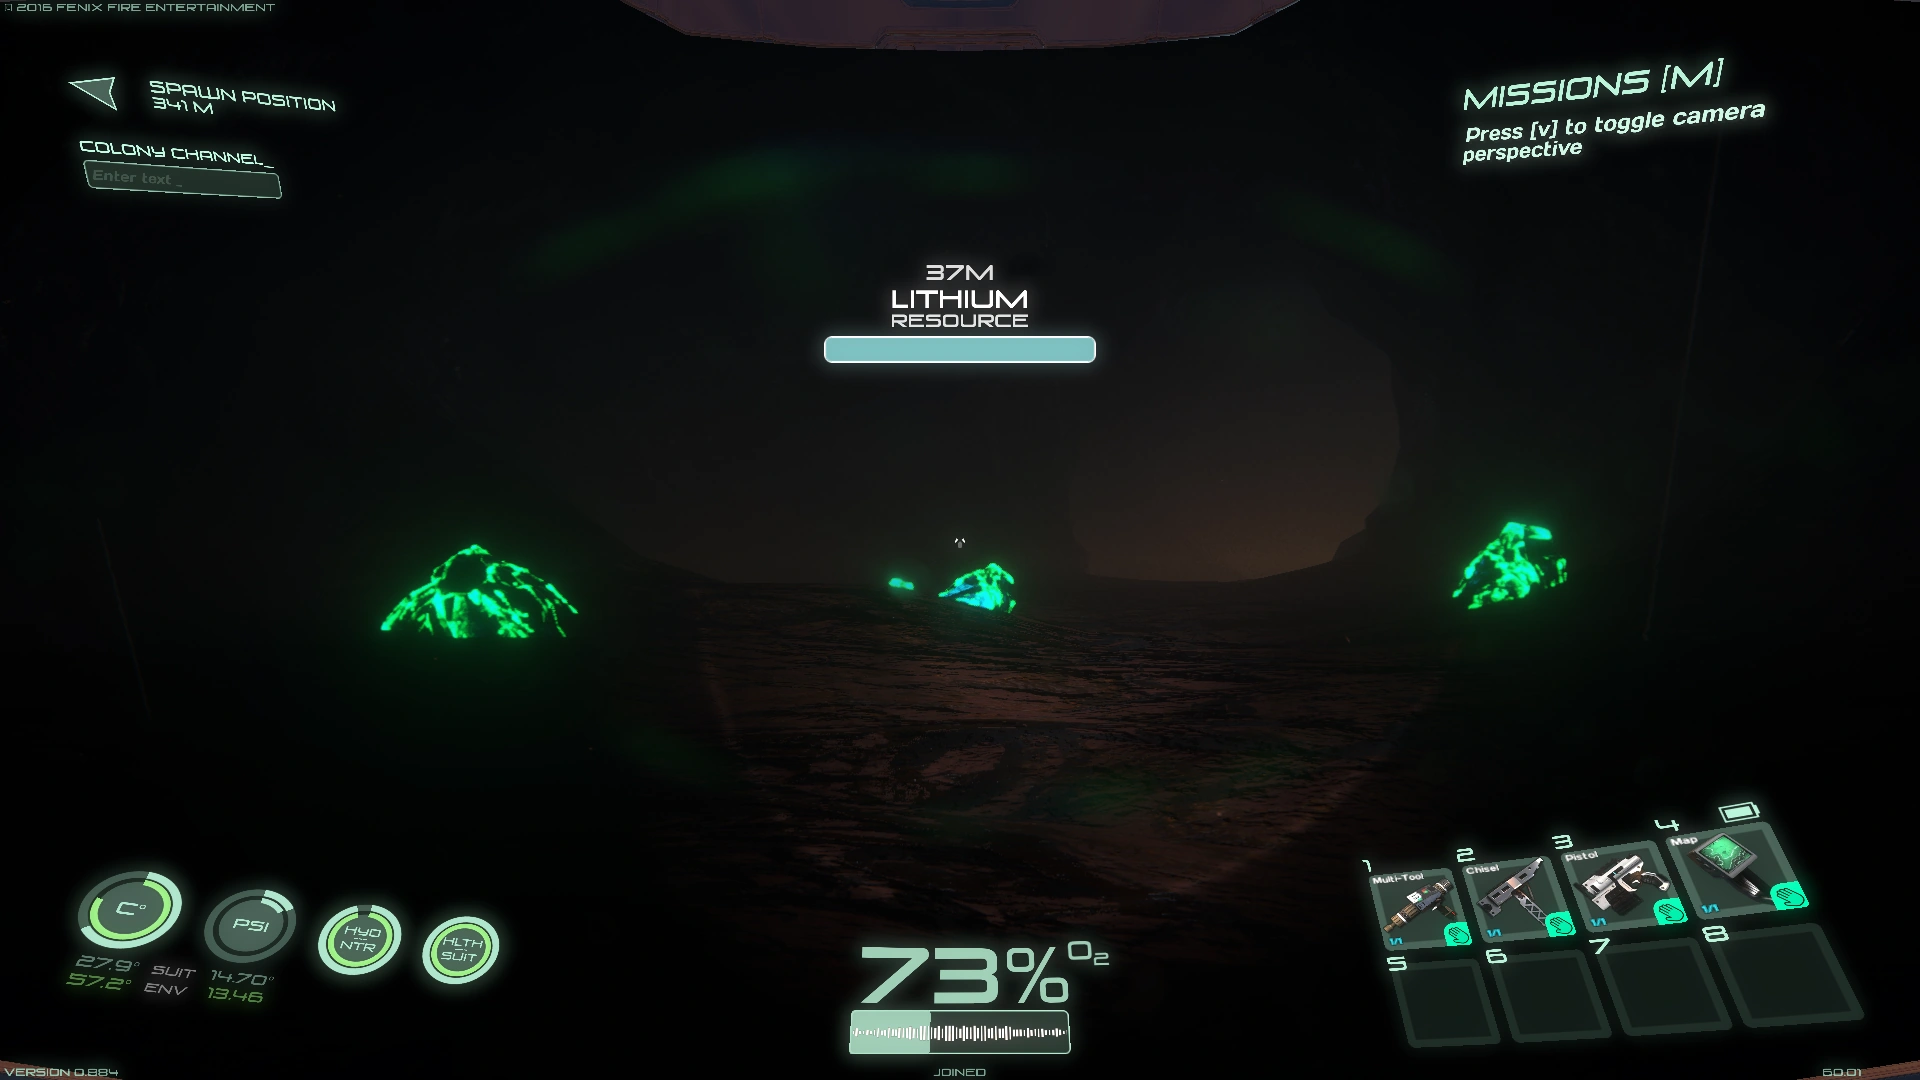
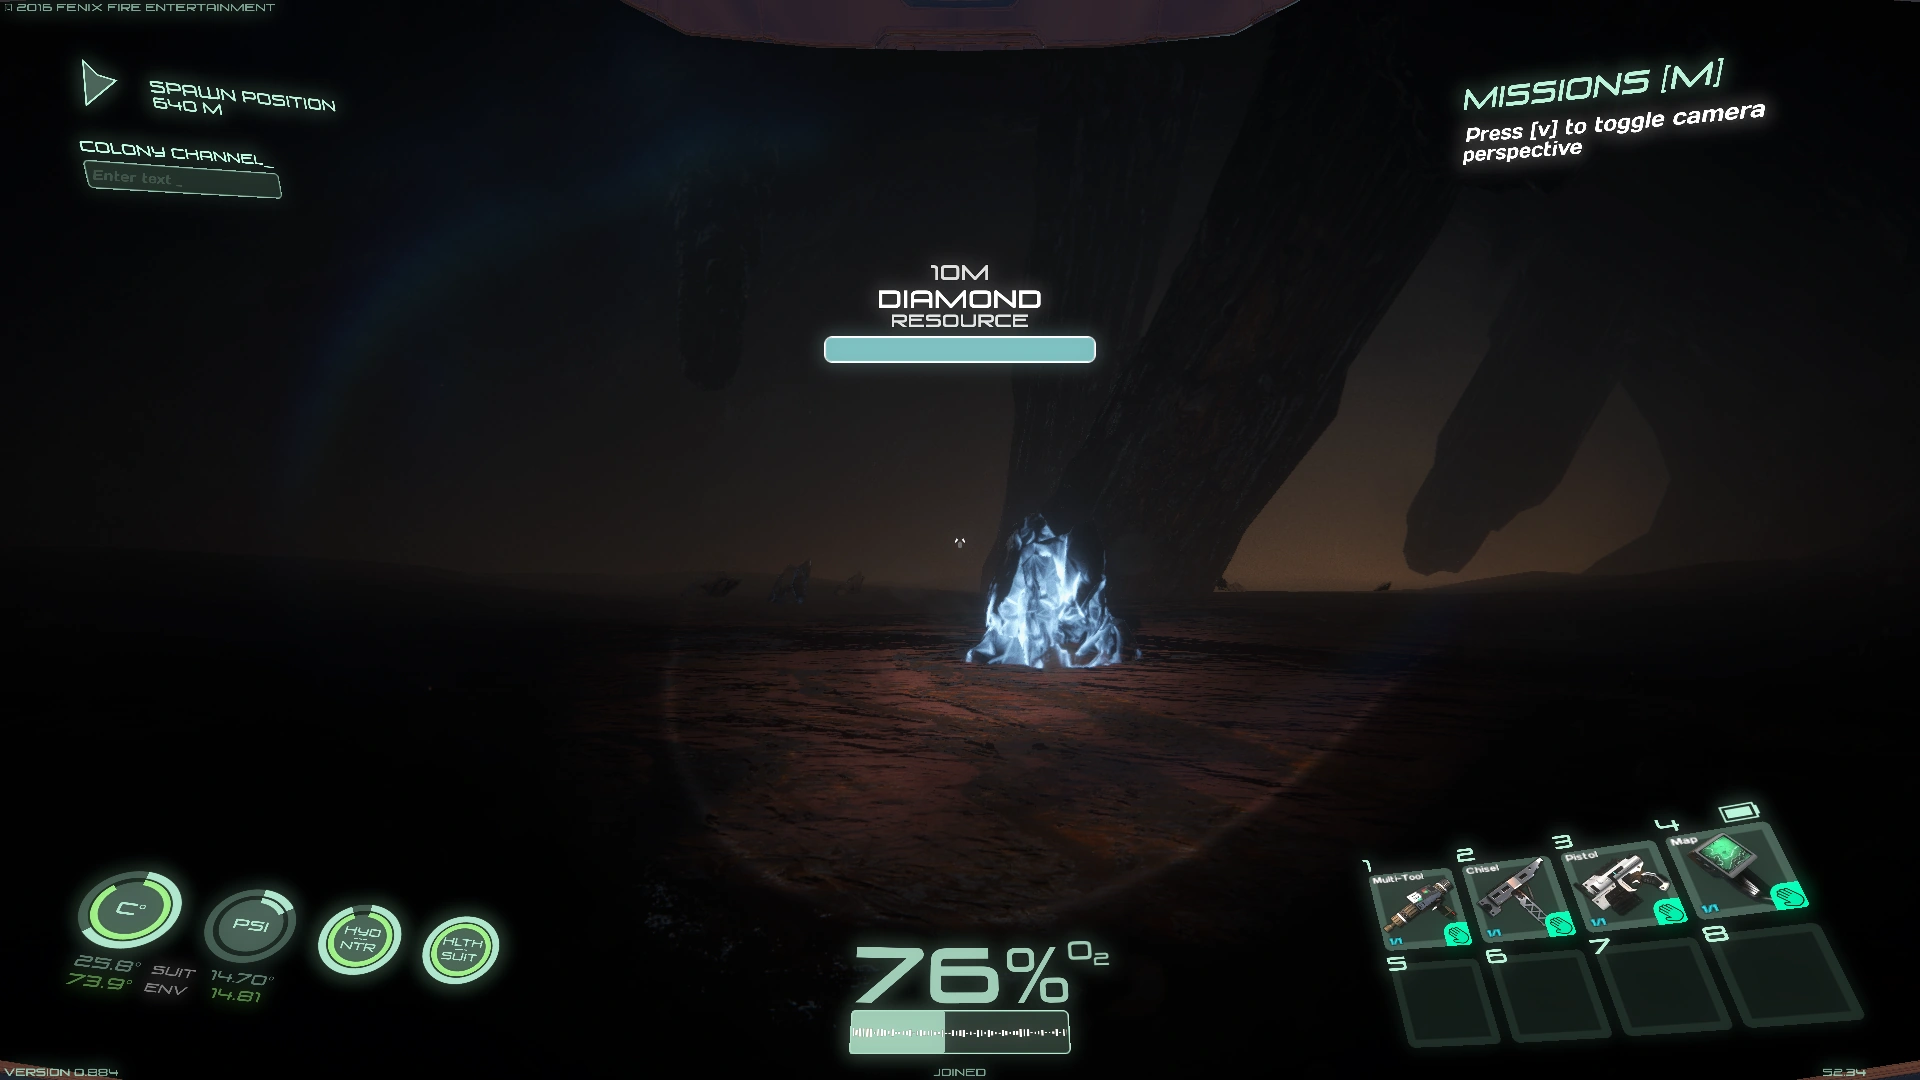
Resourcing

Not being dead has various benefits, including not being dead.
- The next step is to find a more permanent shelter. The inflatable dome cannot be expanded, so the first step is to build a forge.
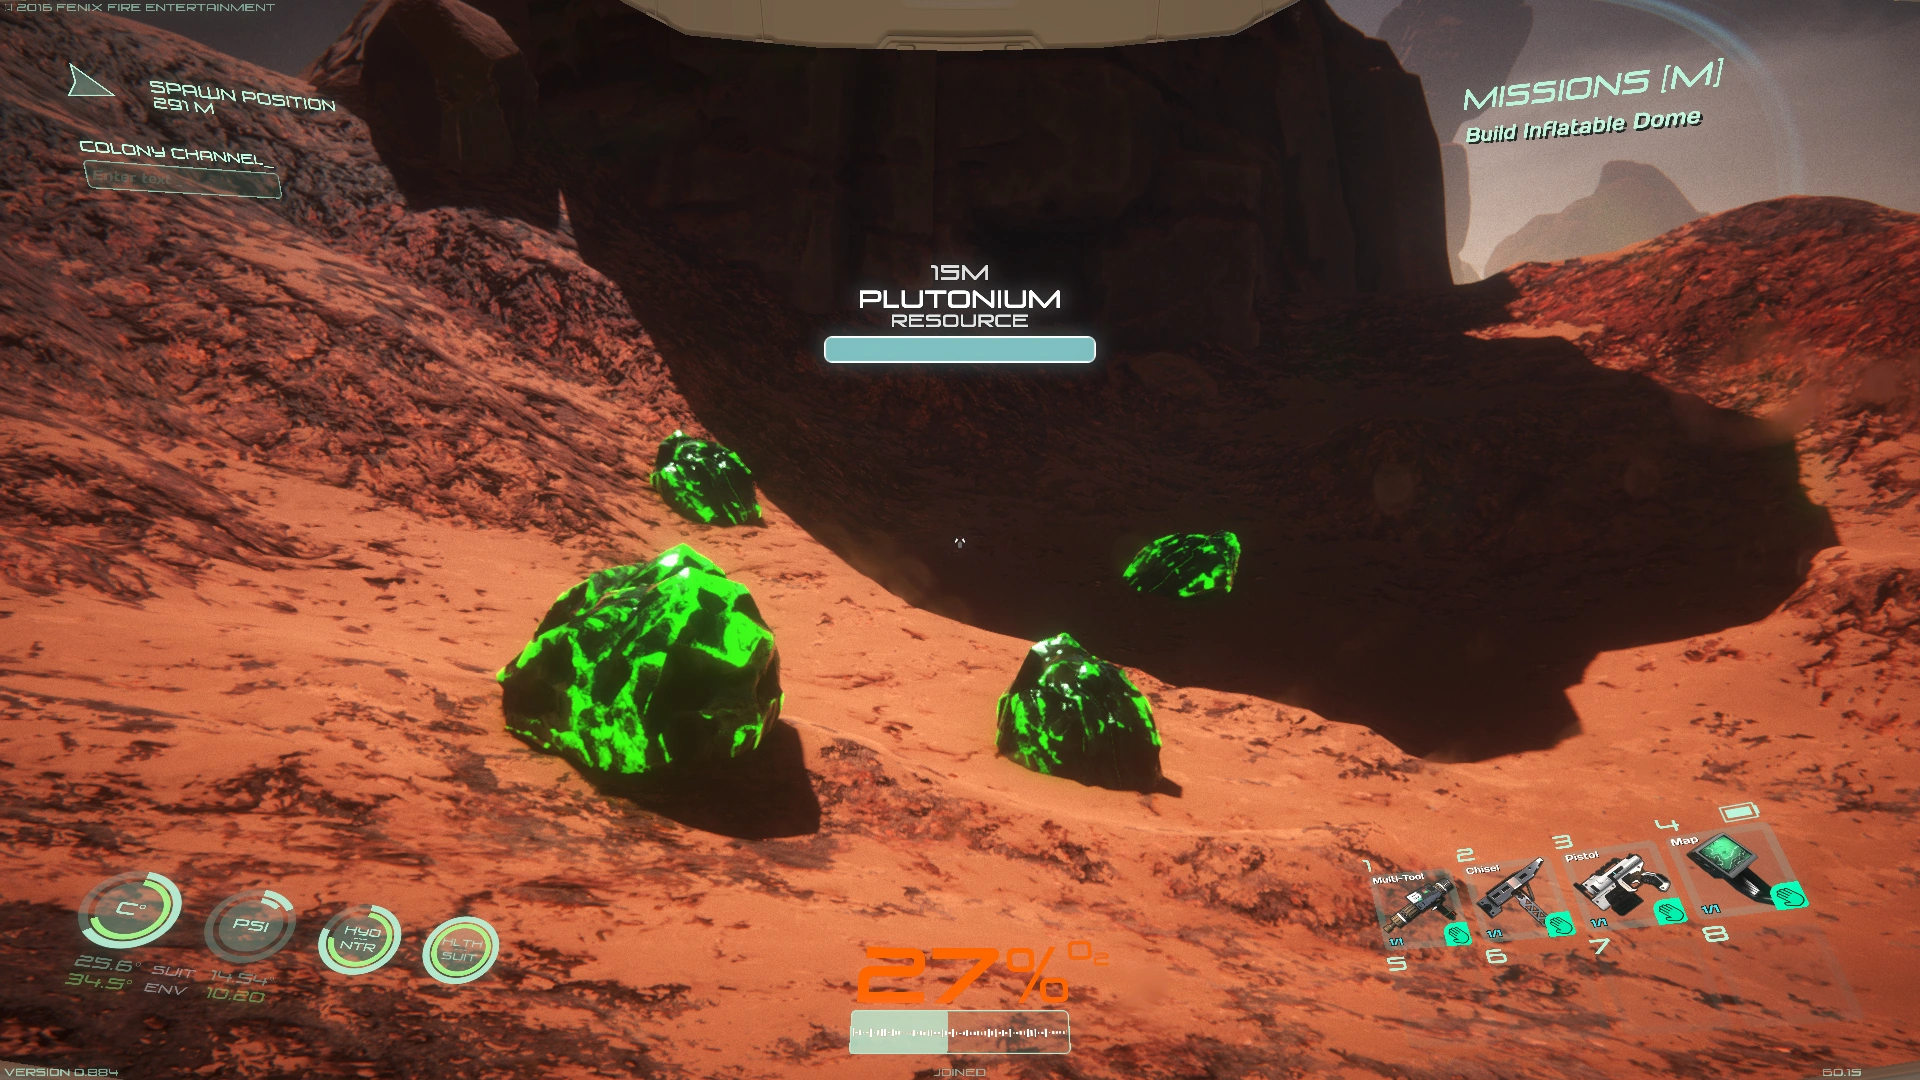
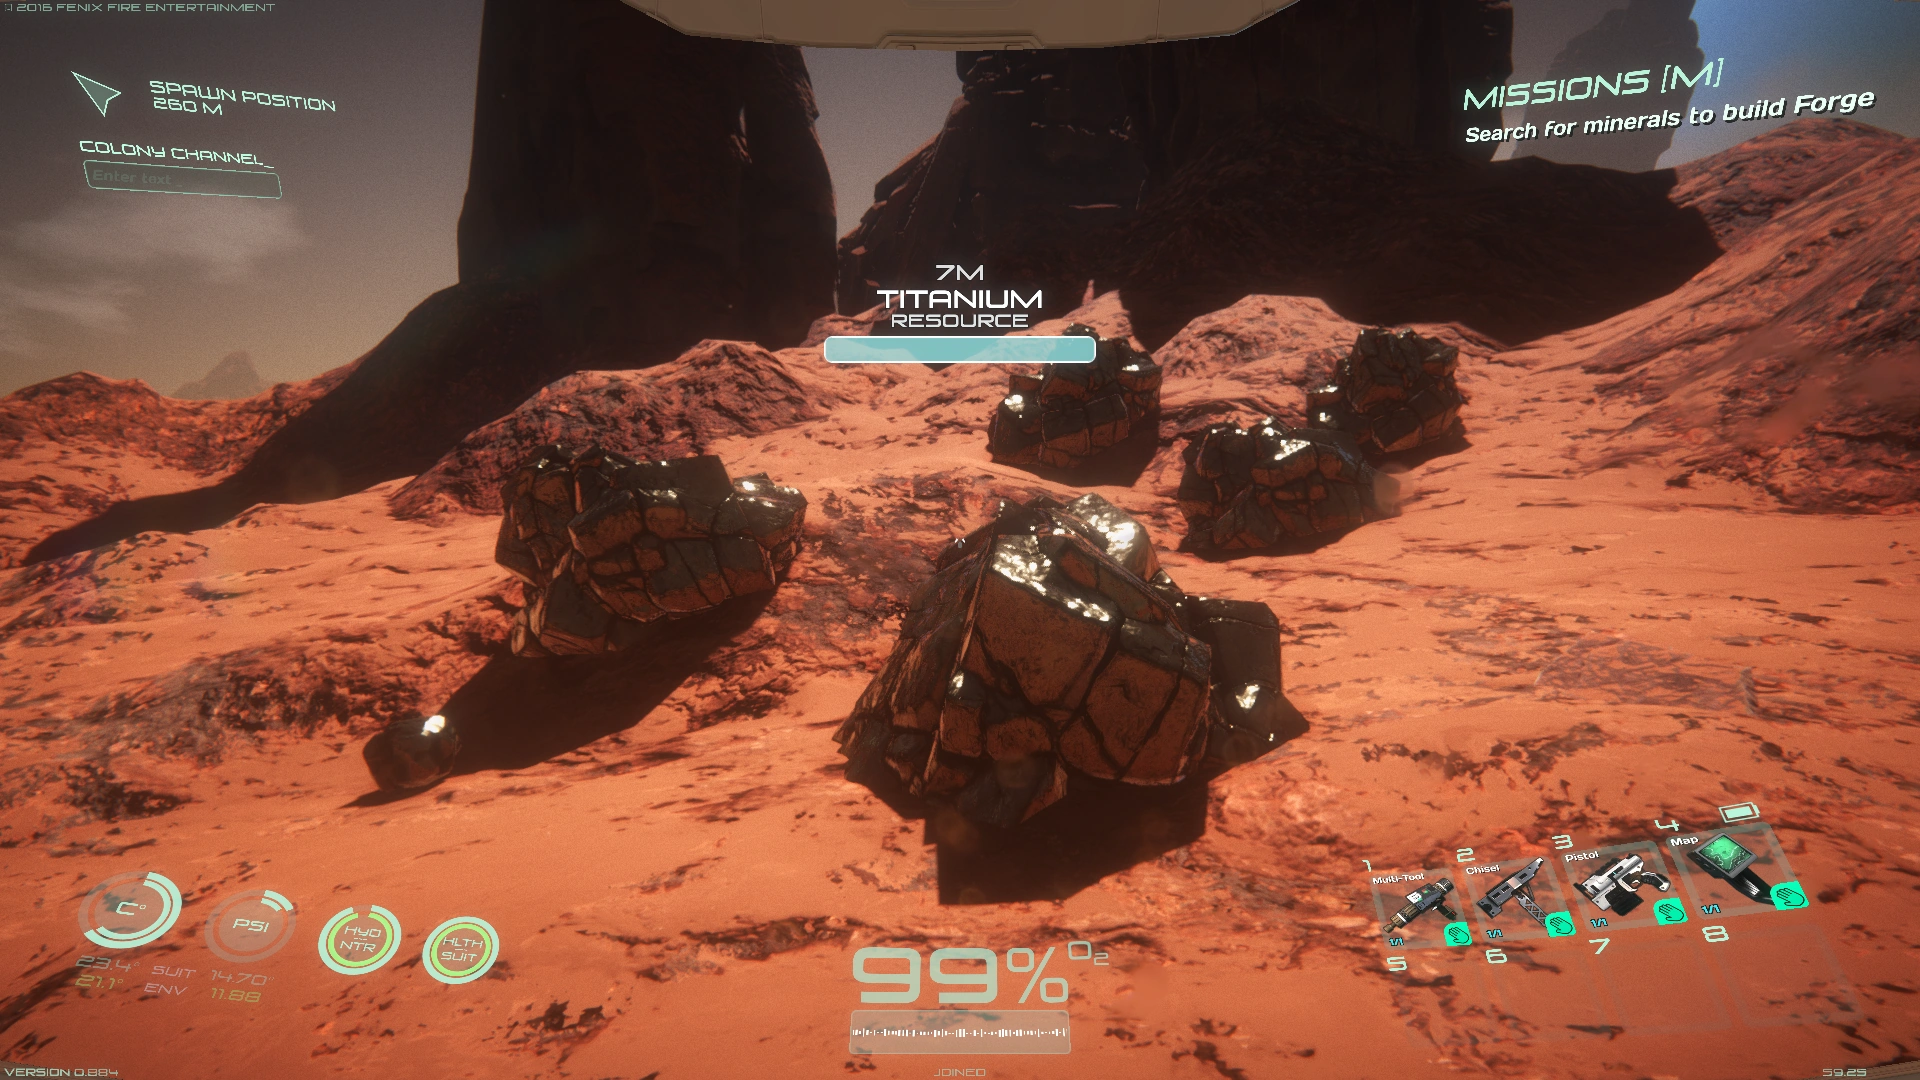
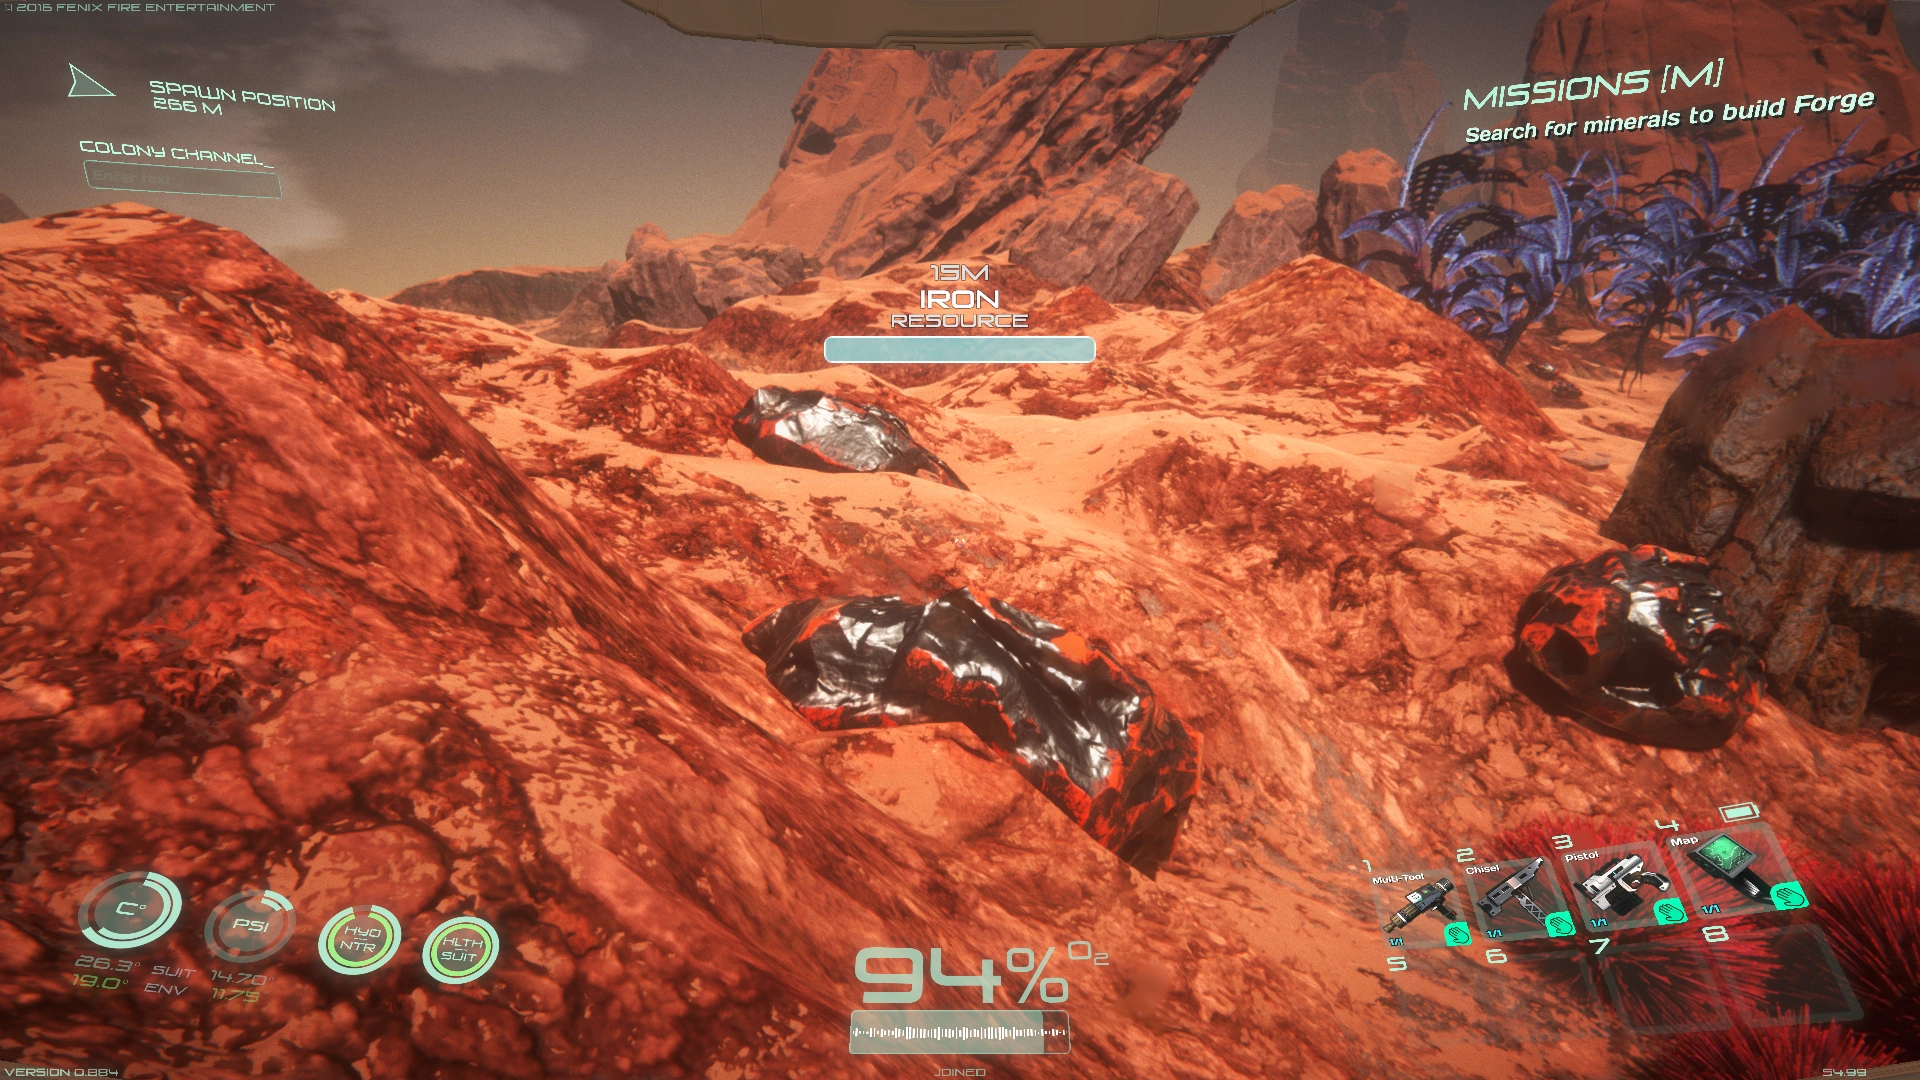
- You need 2 titanium, 4 iron, and 4 plutonium.
- UNE members can find several titanium deposits in a small inlet 380m south of their landing position (use the map to get your bearings). Iron is fairly commonplace, red and black in hue. Plutonium is in a small bay west of the landing site, at 0.3 degrees N and 2.9 degrees W (latitude and longitude, displayed on the map).
- You need 2 titanium, 4 iron, and 4 plutonium.
- Equip the chisel and start hacking away at them. Gather supplies for the forge.
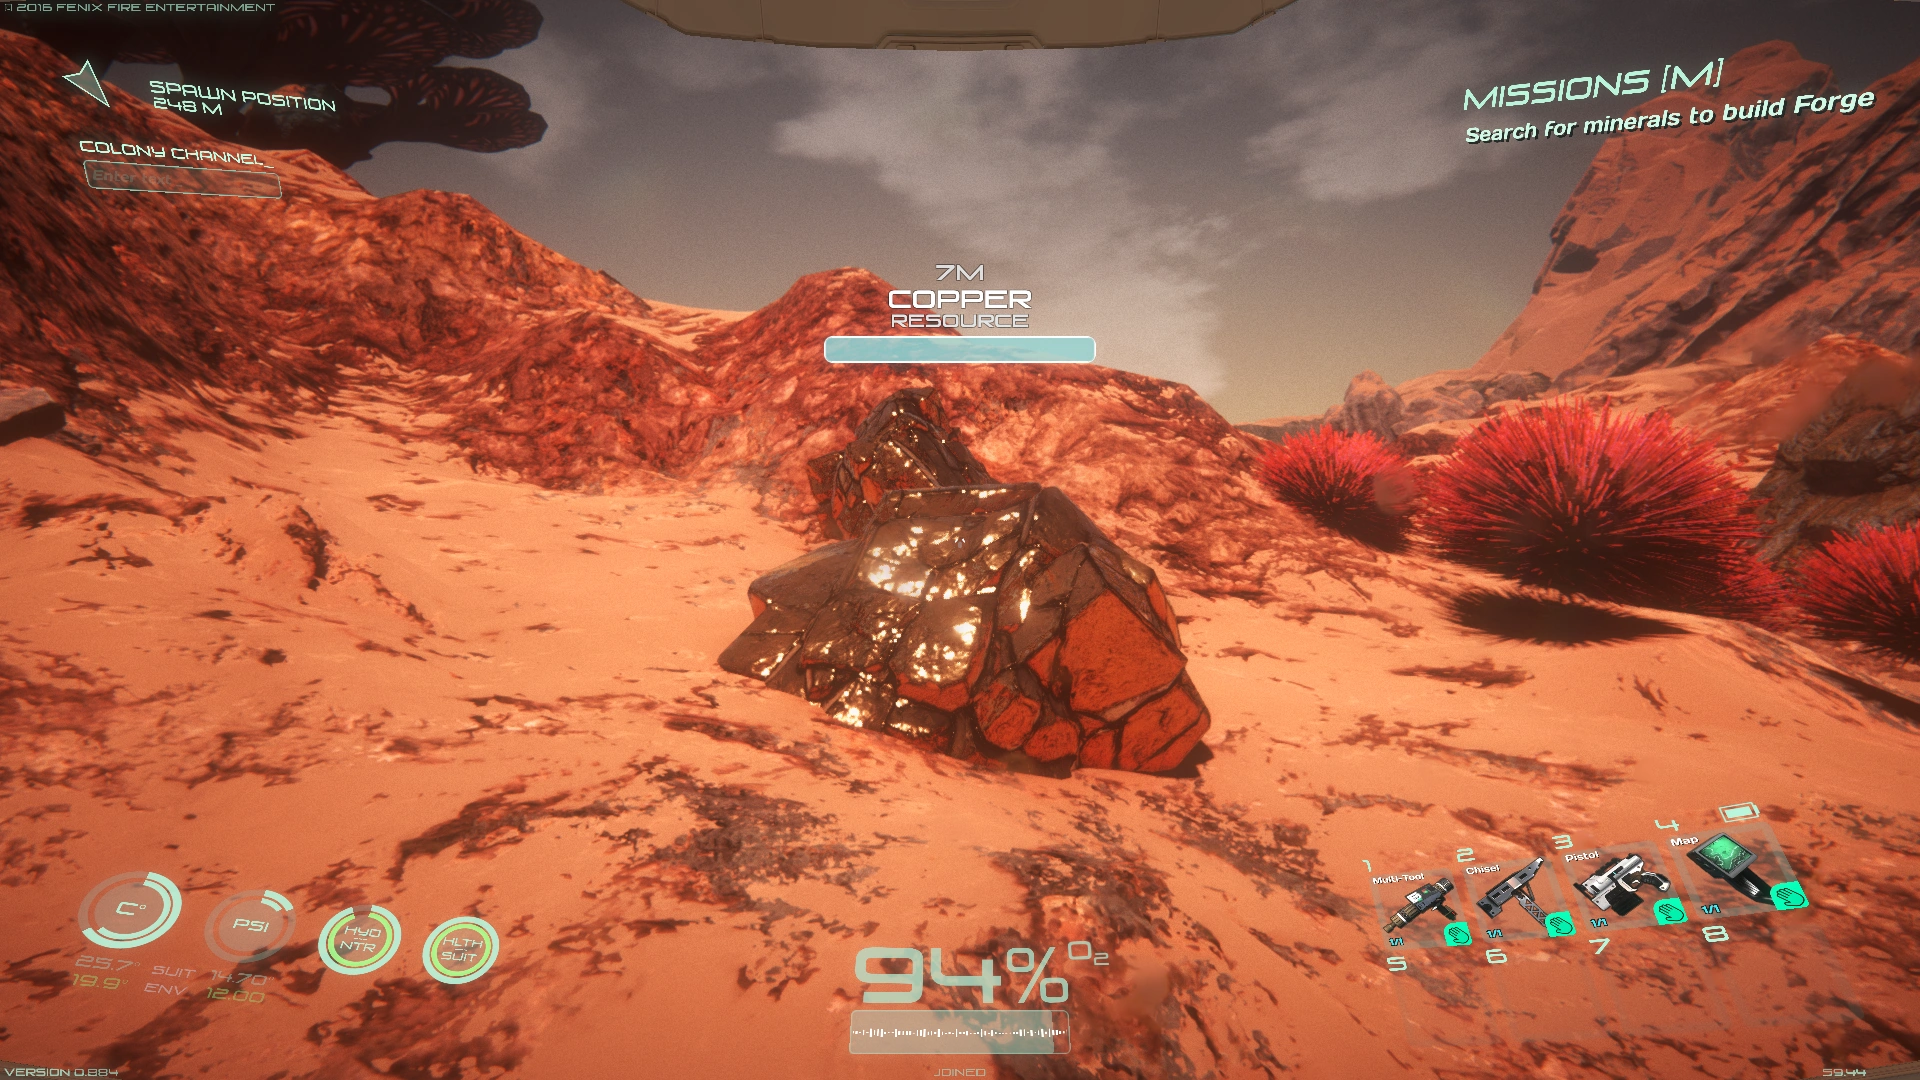
- Now it's time to build the habitat. You'll need to make 15 units of steel, 10 units of glass, and gather 30 aluminum and 10 copper. Aluminum and copper are straightforward and deposits can be found near the titanium ore found earlier.
How to recognize different types of resources

Plutonium, green and glowing
Titanium, dark bronze and shiny

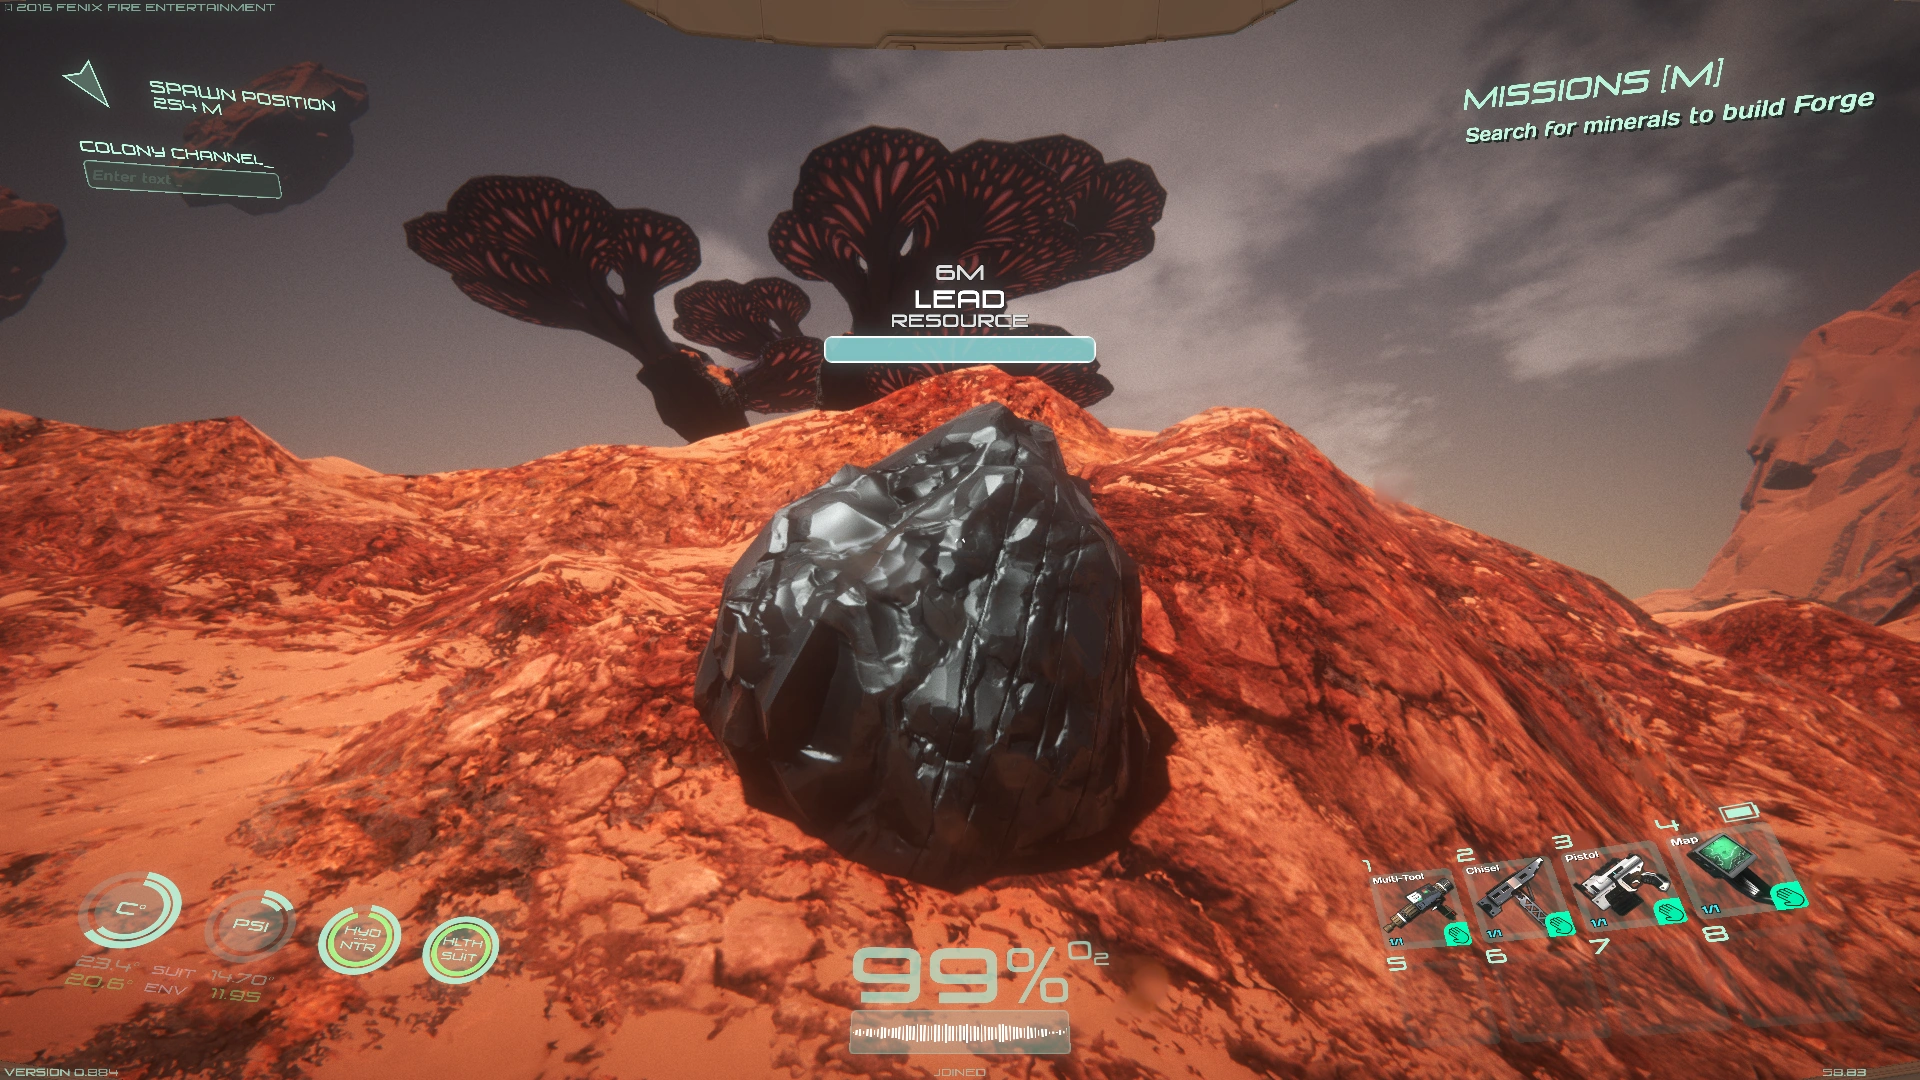
Lead, gray and matte

Copper, burnished gold and shiny
Iron, red and black
Lithium, light green and glowing
Diamond ore, bluish and translucent
Rubber tree provides rubber when harvested
Berry trees provide berry fruits when harvested

Crafting
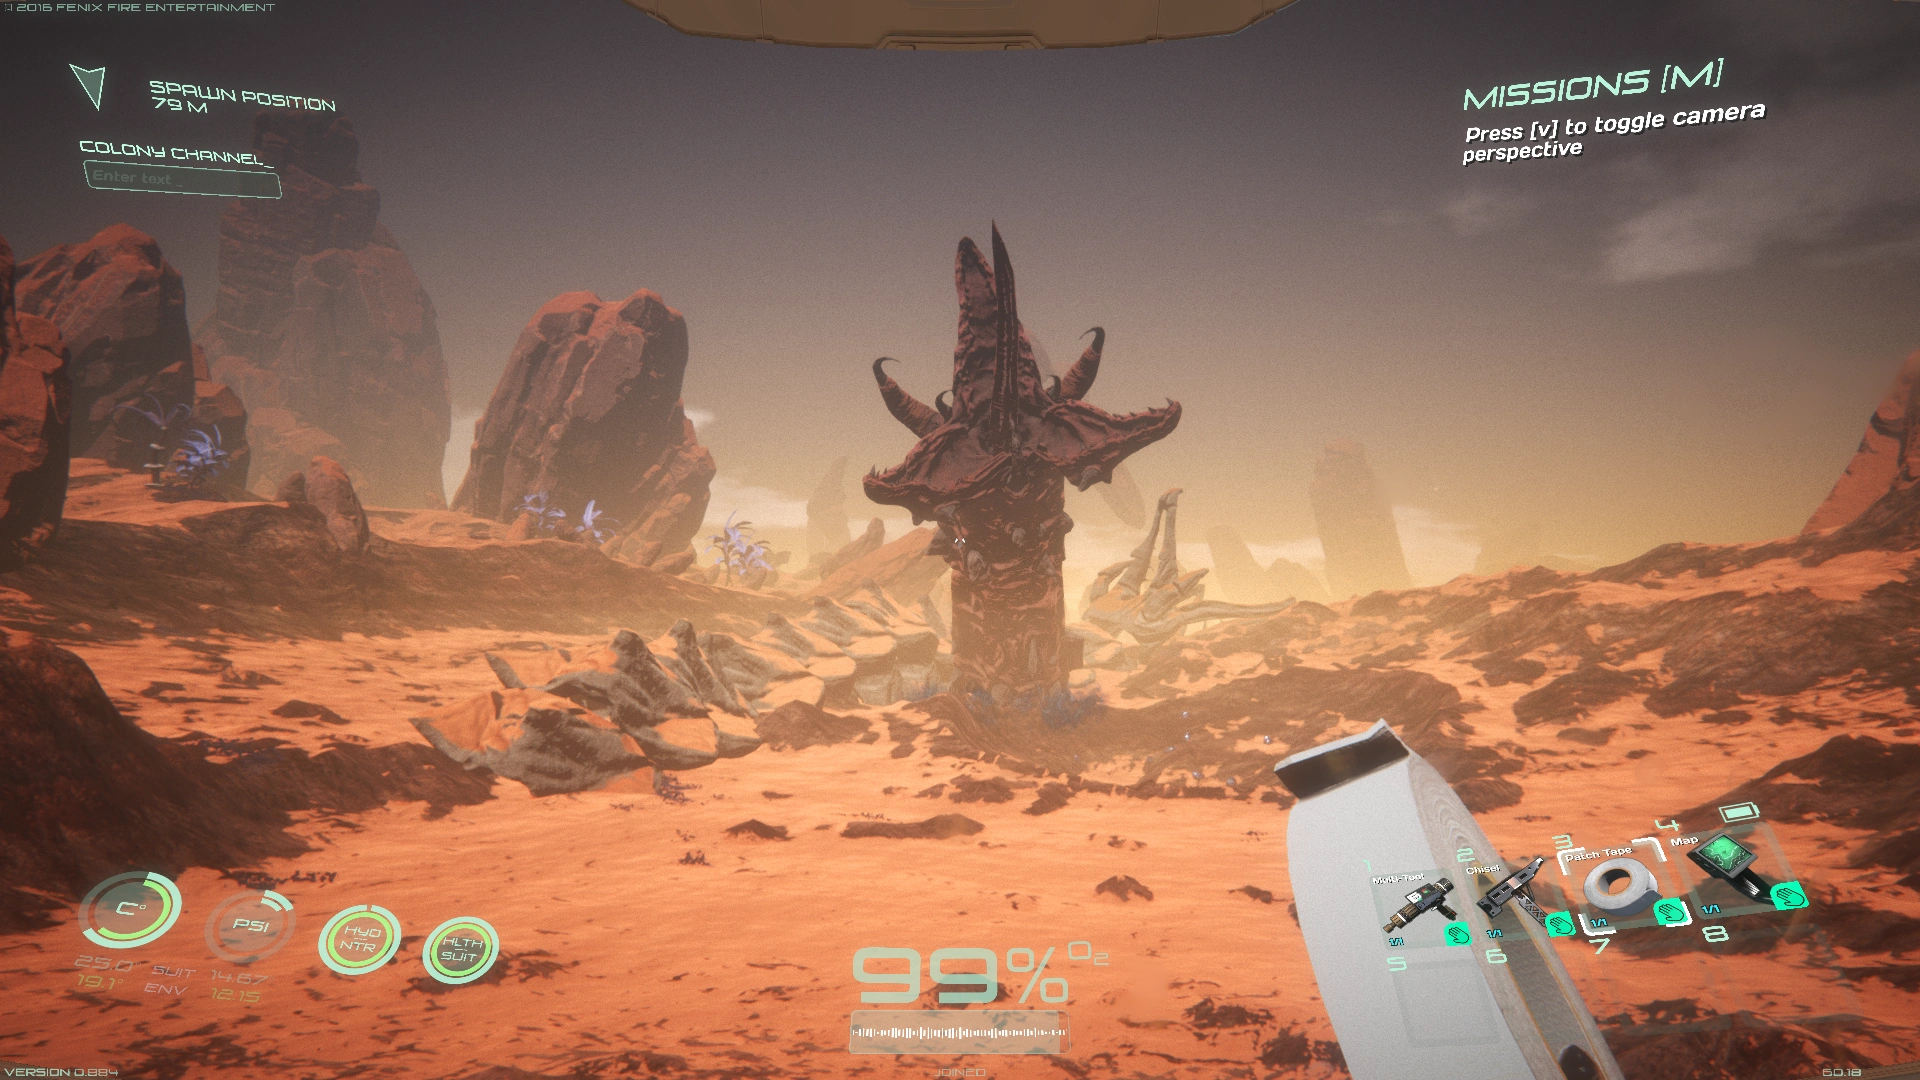
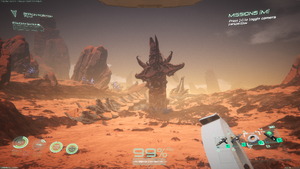
A word to the wise: Magnesium near the UNE landing site is in a crater inhabited by the giant worm; try to dodge it. It's good for your health.
- Construct a depository if you need to store supplies.
- To manufacture items, simply click and hold on them in the forge interface. Different items take different times to complete manufacturing. To move them to your backpack, open the forge inventory tab and grab them. Alternatively, you can shift-click on an item to move it back and forth between your backpack and the forge inventory.
- Build the habitat the same way you did the inflatable dome. To fill in walls, use the repair tool and approach the empty spaces. Cap it all off with an airlock.
- Enter your habitat. Select the Bed from the Furniture tab in your inventory. Build it in an alcove of your choosing. Sleep in the bed to get some health back, in case you run into trouble.
- Finished sleeping? Time to start building further. Construct a chemistry table to gain access to rubber and plastic.
Surviving
- Take it slow. Haste is rarely a good idea. Ask yourself, what would Matt Damon do if stranded on Mars?
- In the first few days, always order your OMPA (Osiris Mission Personal Assistant) to follow you. It will shoot Aliens if they appear.